

How To Make Makeup Table
*This postal service is sponsored by The Dwelling Depot.
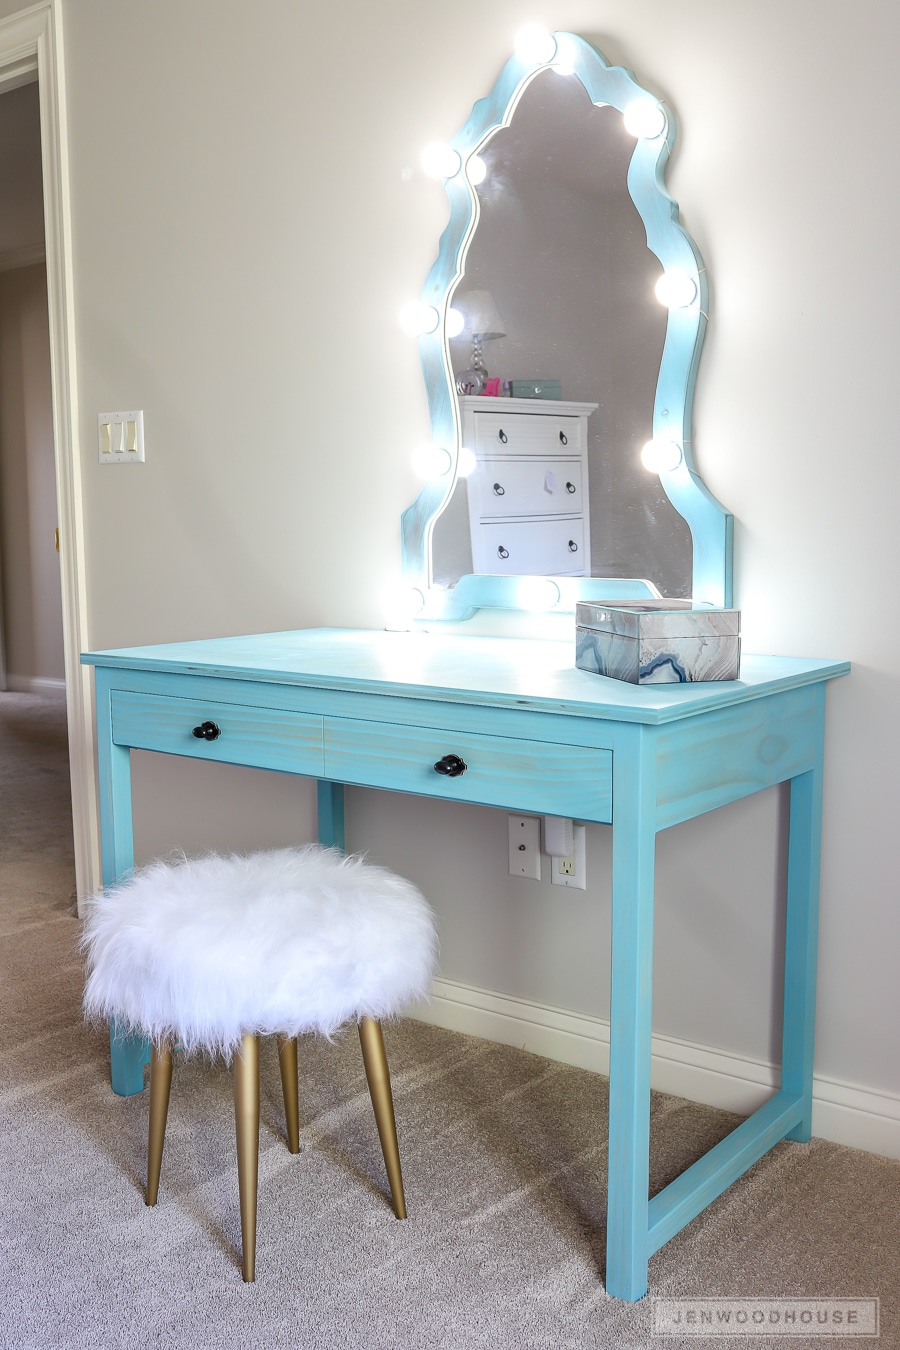
Howdy and happy Tuesday! I'thou back to share the plans and tutorial for my daughter's DIY Makeup Vanity. If you missed the tutorial on how to make that pretty mirror with lights, cheque it out here. Honestly, this slice of furniture is so versatile – it tin can serve as a desk-bound, console table, accent tabular array… y'all name it! Because my daughter is 8 years old, going on xviii, she's using information technology as her makeup vanity. She's into all things lip gloss and glitter these days.
Ugh, glitter: my Arch Nemesis.

I kept the pattern of this DIY Makeup Vanity very uncomplicated considering I was racing against the clock – I had a LasikPlus procedure scheduled, so I had to get it done before my surgery. (By the way, if you're curious about Lasik, I documented my unabridged experience on my Instagram highlights!) It took just 2 days to build and finish this project and nosotros're then excited with how information technology turned out! Read on for the tutorial for this DIY makeup vanity and download the plans below by clicking the gray button at the end of this post.

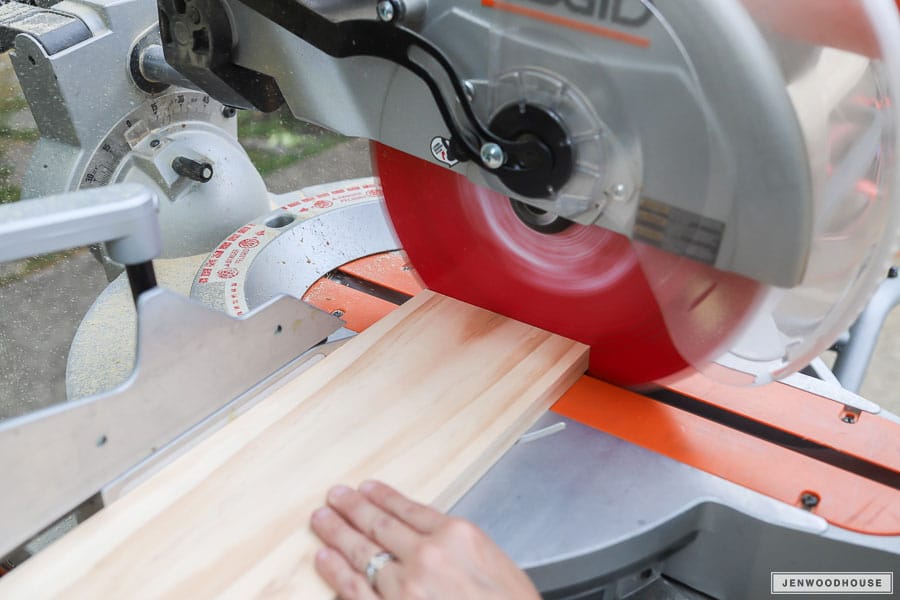
My friend Karen came over and helped me with this projection, which as well saved me some valuable fourth dimension. If you lot tin build with a friend, I highly recommend it. Building with a buddy can not only make better use of your time, but information technology's a lot more fun likewise! While Karen was making the cuts, I was assembling the pieces together. Teamwork makes the dream work!
Dewalt Atomic 20-Volt Brushless Touch / Drill Driver Combo Kit
Earlier this year, I attended The Domicile Depot'due south ProSpective Tool event in Atlanta and I was able to try out these new impact and drill drivers from Dewalt. Information technology'due south a part of their new ATOMIC line – they're much more compact in size, brushless, and battery-powered.

The combo kit includes a drill/driver, an affect driver, ii 20-volt MAX lithium ion batteries, 1 charger, and a conveying bag. I dearest that it's a smaller tool that fits into my small easily, but information technology doesn't compromise on ability or performance. The touch driver is about 5 inches from front to back while the drill/driver is about 6 inches from front to back and they're both super lightweight at 2.4 lbs. Even with its smaller size, I didn't discover whatsoever subtract in capability. They worked great for this project, peculiarly when I had to fit the drill into tight spaces as I installed the drawer slides.
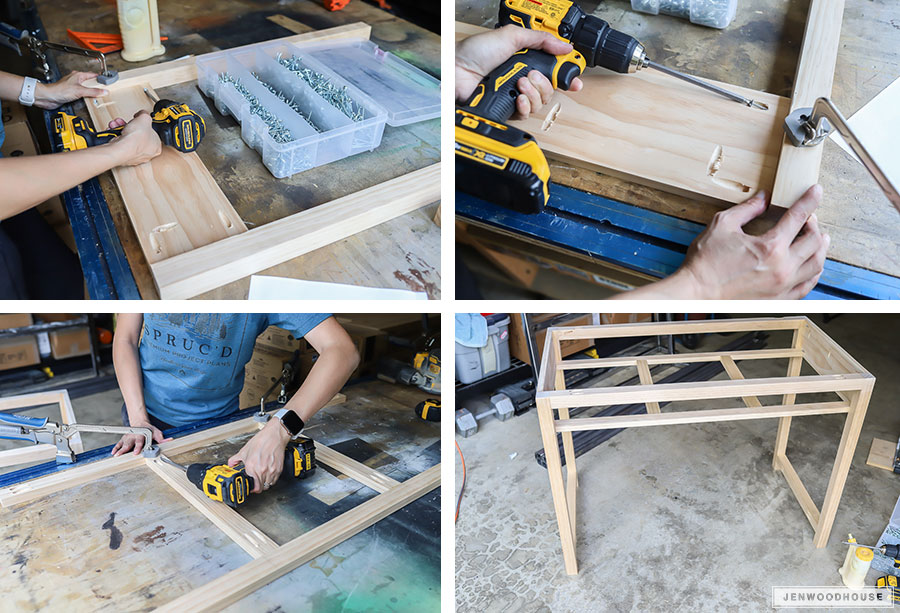
Afterward drilling the pocket holes, assembly went pretty smoothly. The carcass came together quickly, so I turned my attention to building and installing the drawer. If you're intimidated by installing drawer slides, don't be! Here's an easy manner to practice it.
How to build and install a drawer – the easy fashion!
Get-go, measure the infinite where the drawer will go and build the drawer an inch narrower. Standard drawer slides typically need a 1/2-inch clearance on each side. Make sure your drawer is square – this will keep it from binding. To do so, measure the drawer from corner to corner, diagonally. These measurements should friction match. If they don't, squeeze the long side together to shift the drawer into square and secure into place.
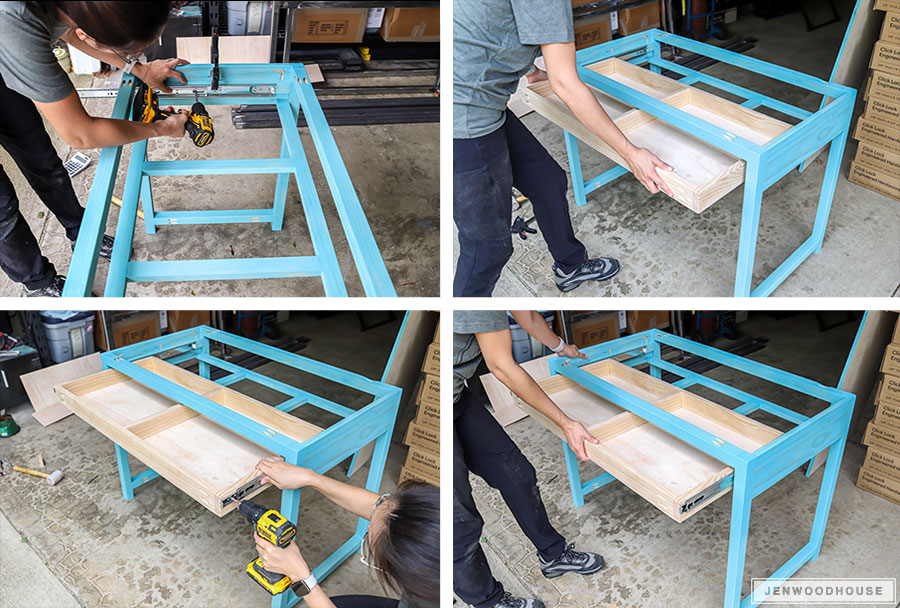
Next, there will be ii pieces to each side of the slide – the piece that screws onto the cabinet and the piece that screws onto the drawer. Proceed these 2 pieces together and screw the drawer slide onto the cabinet. Do this for the other side as well.
Then, slide the drawer box into place. Pull the drawer box out a few inches, along with the piece of the drawer slide that attaches to the drawer box. Attach the ii front screws to the drawer box then pull the drawer box and the slide out more, so screw in the middle screws. Finally, pull the drawer out all the fashion, along with the slide, and drive the final screw at the back of the slide. I shared a video of this technique on my Instagram stories if you want to check it out.

The easiest fashion to adhere the drawer confront is to slide the drawer box in place, then position the drawer face and clamp it in place. Shoot a few brad nails from the inside, to attach the drawer face to the drawer box temporarily. Drill a pilot hole for the drawer knobs and install the drawer knobs. Now that the face is on, you lot can reinforce information technology by driving a few more screws from the inside.
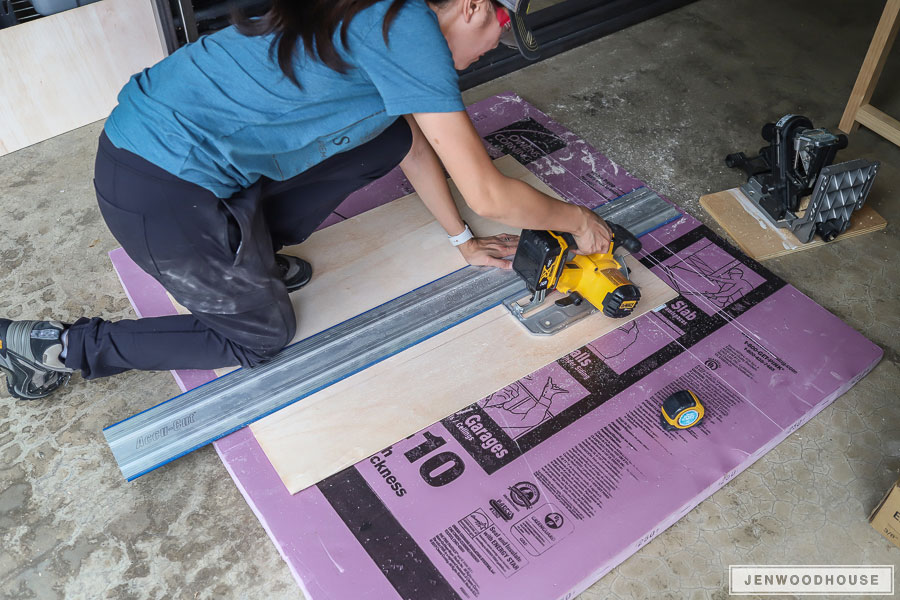
Finally, I cut the remaining pieces and attached them to the vanity. Pro tip: use a foam insulation panel as your cut mat, so you lot don't harm your garage floor!
My girl picked out this pretty Vintage Aqua wood stain by Varathane. She's currently in an "anti-pink" stage. A quick coat of the stain followed past this water-based polyurethane, and I'g calling this DIY makeup vanity done!
If yous're in the marketplace for a meaty drill/driver and impact commuter combo kit, check out the Atomic line from Dewalt at The Home Depot.

*This mail service is sponsored by The Dwelling Depot. I acknowledge that The Dwelling house Depot is partnering with me to participate in the ProSpective 2019 Campaign. Every bit a part of the Program, I am receiving compensation in the grade of products and services, for the purpose of promoting The Home Depot. All expressed opinions and experiences are my own words. My mail service complies with the Word Of Mouth Marketing Association (WOMMA) Ethics Code and applicative Federal Trade Committee guidelines. This mail contains chapter links. To read my full disclosure policy, please click here.
Source: https://jenwoodhouse.com/diy-makeup-vanity/
Posted by: whanghattertion58.blogspot.com
0 Response to "How To Make Makeup Table"
Post a Comment